

Today is part 2 in the kitchen shelves recap. We’re slowly and surely making progress on the kitchen, and in telling you all about it. 🙂
When it came time to hang the shelves (which we talked about building yesterday, here), Wyatt was careful to find and use the wall studs to mount the brackets. These shelves are going to support quite a bit of weight with all our dishes on them and we need them to be secure. There’s no point in hanging shelves only to have them rip out of the wall in a year…or less!
The first step was to find the wall studs so we could mount the brackets into them. (To see the brackets we choose, read this post.) He was cursing the builders a few times as he looked for studs where they should be and found they weren’t always there.
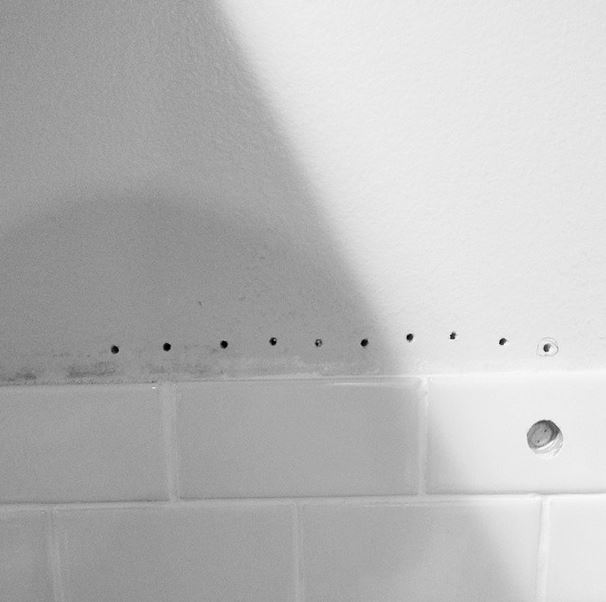
We marked them earlier when drywalling but everything got painted over…and thus, the dreaded stud finding process ensued. Luckily, those little holes won’t show because they are now hidden behind the shelf. Thank goodness he tried the wall first though before drilling through the tile. Can you imagine if we had drilled a bunch of holes through our brand new subway tile? (For more on installing that project, start with this post.)
He used a diamond bit to drill through the tile for the bottom shelves, dipping it in water every few seconds to ensure it didn’t overheat. It was a long, loud process, but ended up nice. No cracked tiles or chips. He did an awesome job.

Wyatt also drilled the holes into the drywall ahead of time, but those just needed a regular drill bit, bot a special tile cutting bit. (Even though he did break three of the small bits he used during that process-ugh.)
Then, it was time to screw the brackets into place. We used 2 1/2 inch wood screws to hold the brackets in place. These shelves should be very, very sturdy, for a long time. Wyatt was also careful to make sure everything was perfectly lined up.

You can see the metal brackets in the photo above, which we then covered with the plastic covers:

Wyatt also screwed the shelves down into the brackets from the top once they were in place. Because the boards weren’t perfectly square, he had to adjust a few of the brackets up or down very slightly to account for any warp in the boards.
Finally, everything was up and ready to decorate! This is how everything looked all dolled up for Christmas:

Lovely, right?

We have plenty of room for all our regular glasses and dishes. The hard part is deciding what goes where.

I’ve gotten all the holiday stuff put away now so I’m ready to bring out all my blue, green, and yellow stuff now. Woohoo! Not that the red and festive items weren’t cute…

The organization will be a big project in itself, though, and since I’m still spending most of my time sitting or laying down, it may take me awhile to get it all ready to go and organized. We’re really liking the open shelves so far. The biggest challenge is just deciding where to put everything so it makes sense in the room and still looks nice.
And, we won’t have room for everything, even with all this space, so I’m doing some sorting and getting rid of a bunch of glasses we’ve never used since getting married.
Thoughts on how to best arrange our shelves? I’m torn between wanting everything to be most convenient and having all the various colors and items spaced evening on the shelves. I’m sure a perfect balance is out there, I’m just still searching for it.


It looks great. I have a feeling you will be rearranging it forever more…and it will always look great.
Probably! But hopefully not too much.