

I think we mentioned in the post about the new doors for the basement guest room that there are a few house upgrades we’re making in every room in the house, slowly but surely, as we make our way through each room.
One of those upgrades is switching out the damaged hollow core doors with white panel doors. Another upgrade is switching our light switches and electrical outlets from almond to white.
In the guestroom makeover, we went one step further and decided to install the tamper resistant outlets in an attempt to start baby proofing the house.

Overall, it’s a pretty simple process…
We also had several phone and cable boxes in that room, but for those, we just used a plain wall cover since we don’t have a house phone or cable coming into that room.

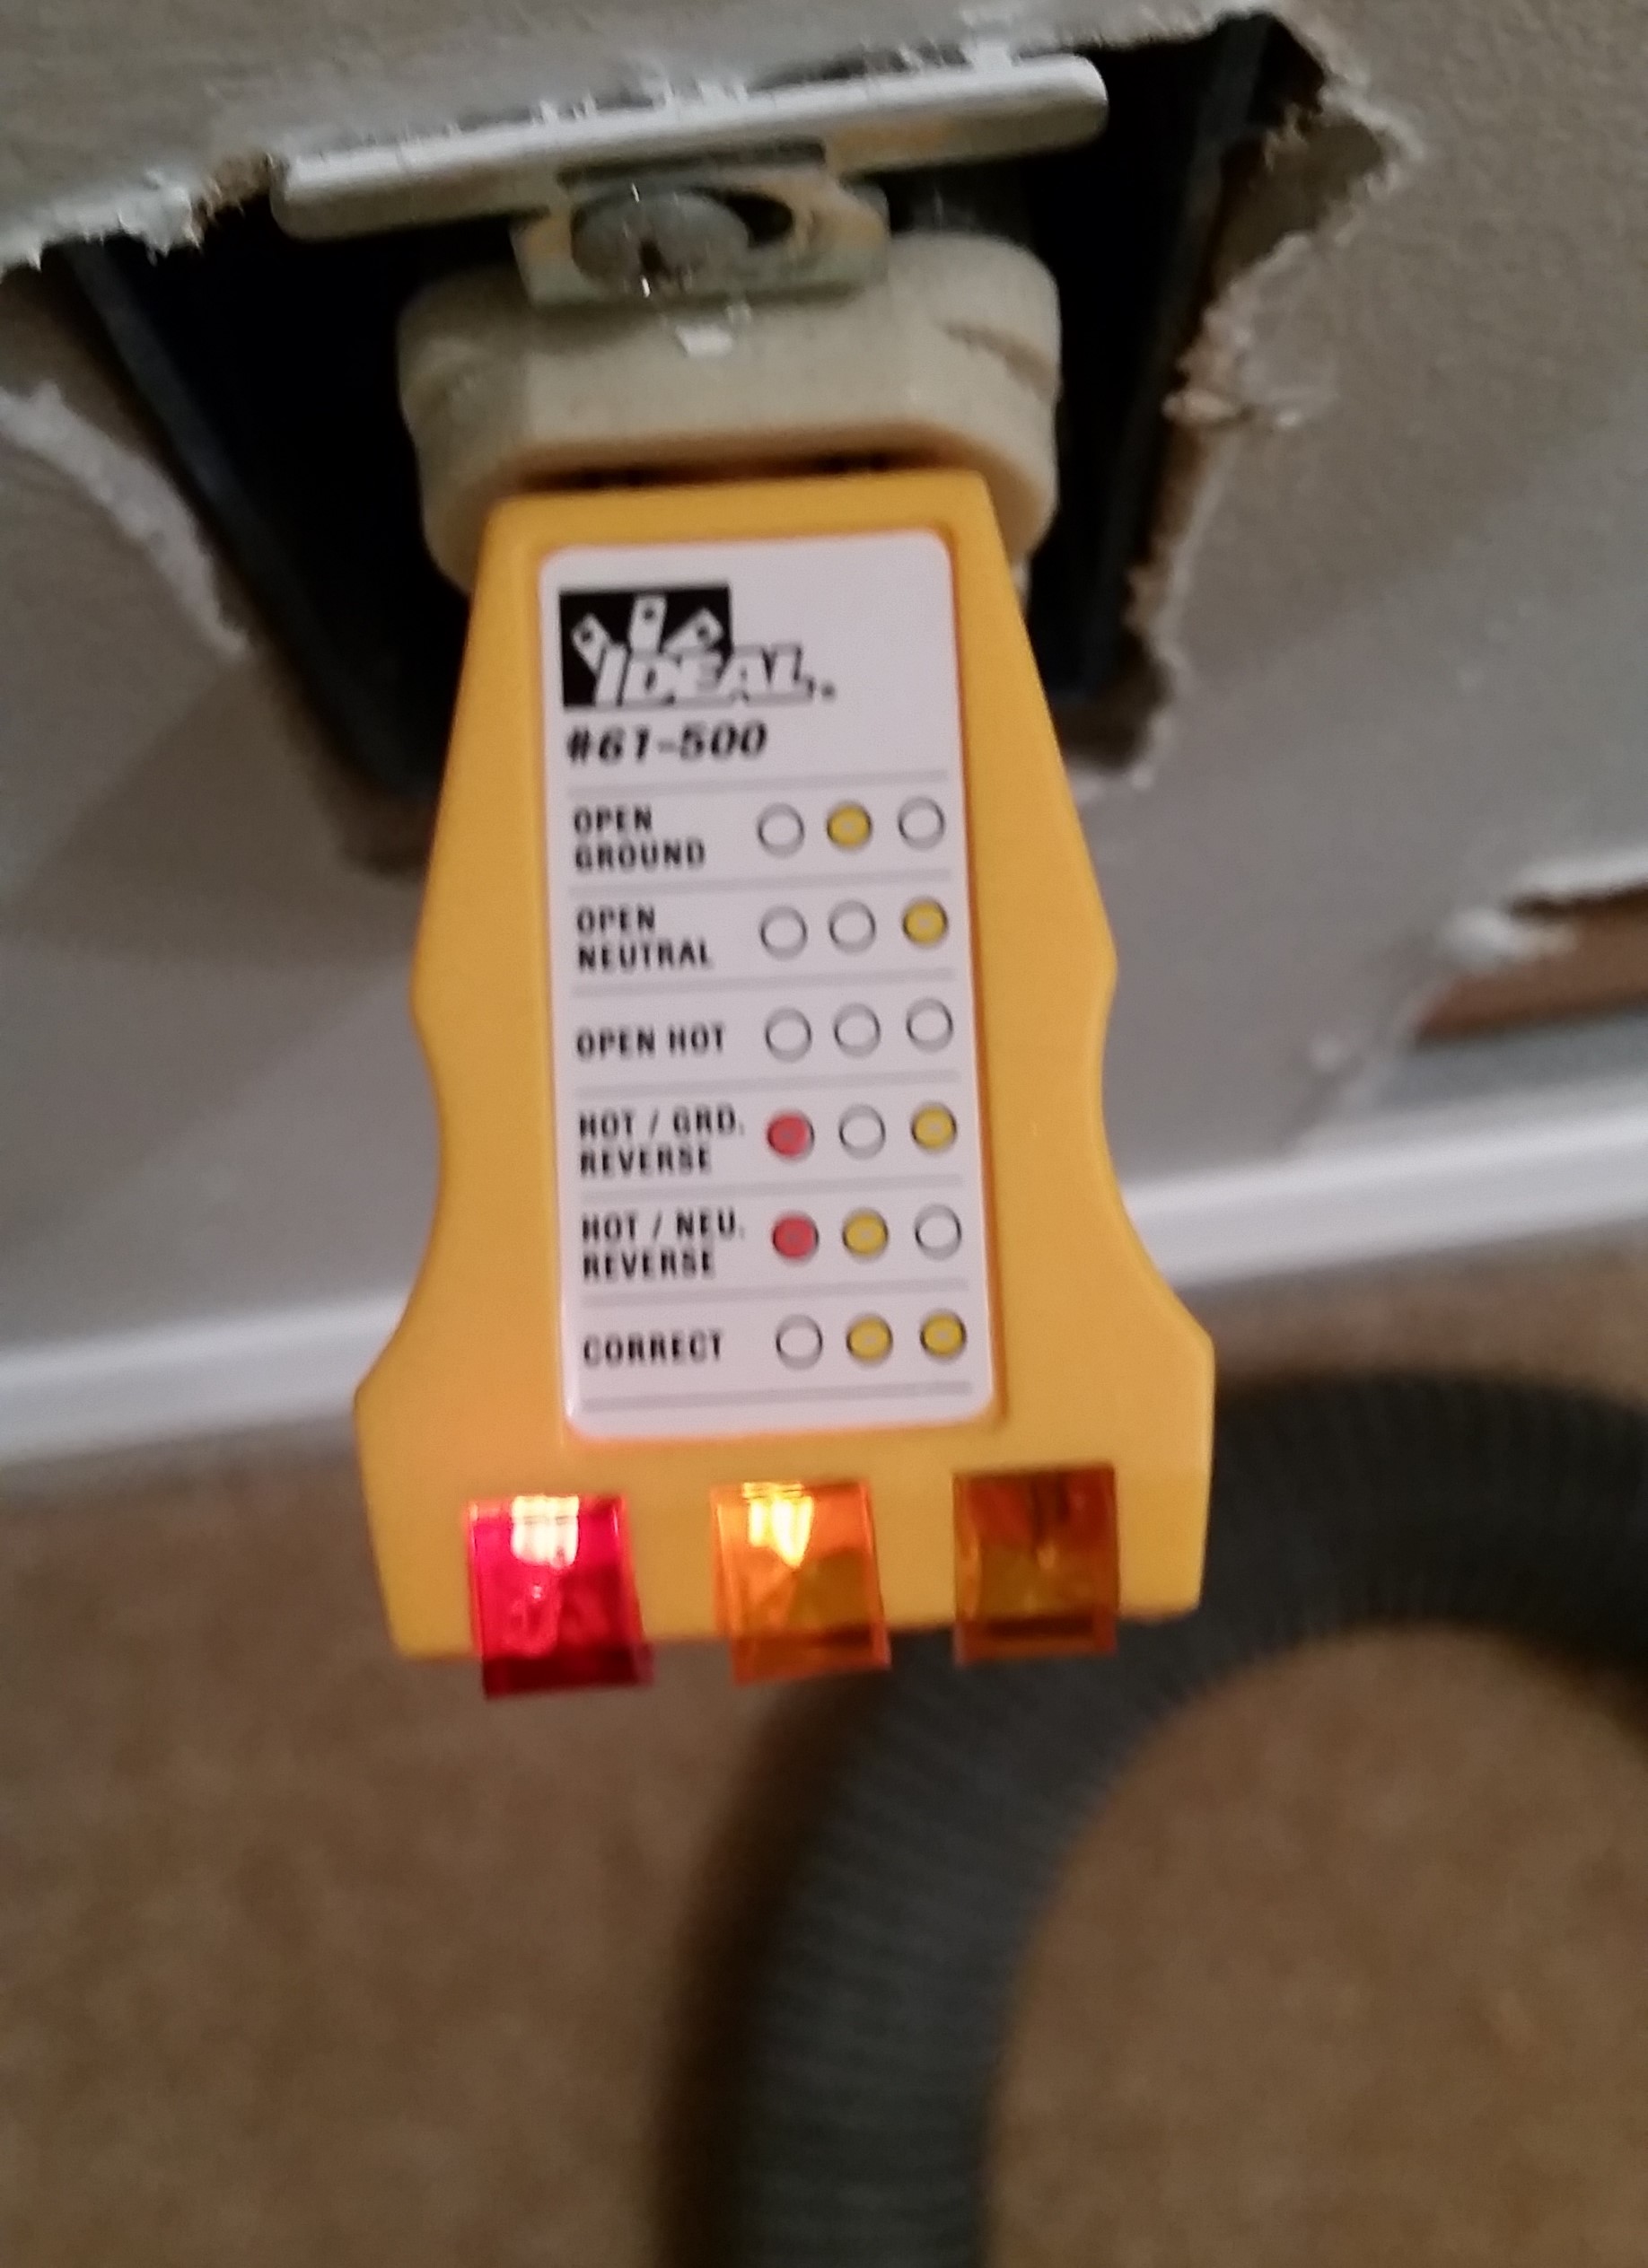
This next step is something that wouldn’t be a bad idea to do even if you aren’t changing you outlets. Go buy yourself an outlet tester. They have special ones for GFI outlets also.
These testers are easy to use. They light up and tell you that your outlet is wired right (or wrong). In this room, all of the outlets were wired with the hot and neutral backwards, Plus, we found out none of the grounds were connected. Just another frustrating development we’ve found in the electrical work here.
Flip the breaker switch off. It’s good to leave the tester plugged in so you know it is really off.

When you get ready to start replacing the wiring, if your wires are pushed into the back of the outlets, it may be worth it to just cut the old outlet off instead of pulling the wires out. Sometimes it’s difficult to get old outlets to release the wires

After that, you’re ready to get your new outlet ready to install. They make outlets with easy shark-bite style holes in the back, but the outlets with screws are the better way to go. It’s a good idea to screw in the posts (screws) that you don’t plan on using, as well as unscrew the posts a little for the ones you will be using. This helps give you more room to get the wires attached.


Once the outlet is prepared, its time to prepare the wires. I stripped the protective coating off the wires with my wire strippers. You’ll need somewhere around an inch, or slightly less, bare wires. I also use pliers to bend a little hook at the end of each one that will wrap around the posts. Most needle-nose pliers are about the perfect size to create the loop you’ll need.
I also find it easier if the wire is hooking in the same direction the screw turns to tighten.
Assuming the wiring in the house is hooked up correctly, the black wire goes to the brass side and white wire goes to the silver side. The bare copper wire is the ground and goes to the green screw on the bottom of the outlet. You want to place the little hook around each post and then use your screw driver to tighten the post down on top of the wire.
This isn’t a bad time to take your vacuum and clean out the outlet box to remove any of the bugs, sheet rock dust, or whatever else might be in there from the initial installation or years of being in the walls.

In the picture above, you can kind of see the bendy shape of the wires. It makes it easier to put the outlet back in the box if you form your wires into this shape before pushing it back in the box. The “S” shape keeps you from having a tangled mess to shove in there. Plus, if the wires go nicely into the box, it’s less likely any of the wires will accidentally loosen as you handle the outlet.
Once everything is put back, be sure to check the outlet to make sure you get the lights for a correct wiring set up.
Then all you need is the face plate. We spent a little more on these new outlets with the baby in mind. That “TR” stands for tamper resistant, meaning something has to go in both holes for the gates in the vertical slots to open. It’s just less likely a kid will be able to stick something in there and shock himself. Or herself.
It’s a pretty easy process, but can be tricky or intimidating if you’ve never done it before. We recommend you always consult a professional electrician before doing any electrical work in your house. You also need to be sure to follow any local permit requirements and housing codes.
All in all, this was a quick update that makes the room feel a lot more modern and upgraded, not to mention safe.
Have you ever replaced outlets or light switches? Have you found any wrong wiring in your DIY projects? What are some of your favorite tips?

