

Before getting started on the drywall, I wanted to get started on the nook area. This would allow us to know how far down the wall to drywall.
I started by building the sides of the nook area that would be the structure for the drawer cabinet. This will also be what the counter top sits on. Based on my design, the order of putting in pieces was back, bottom, and then sides. I bought a sheet of 1/2 inch MDF for this part of the project. It is just a platform and sides for the inside of the drawer cavity.
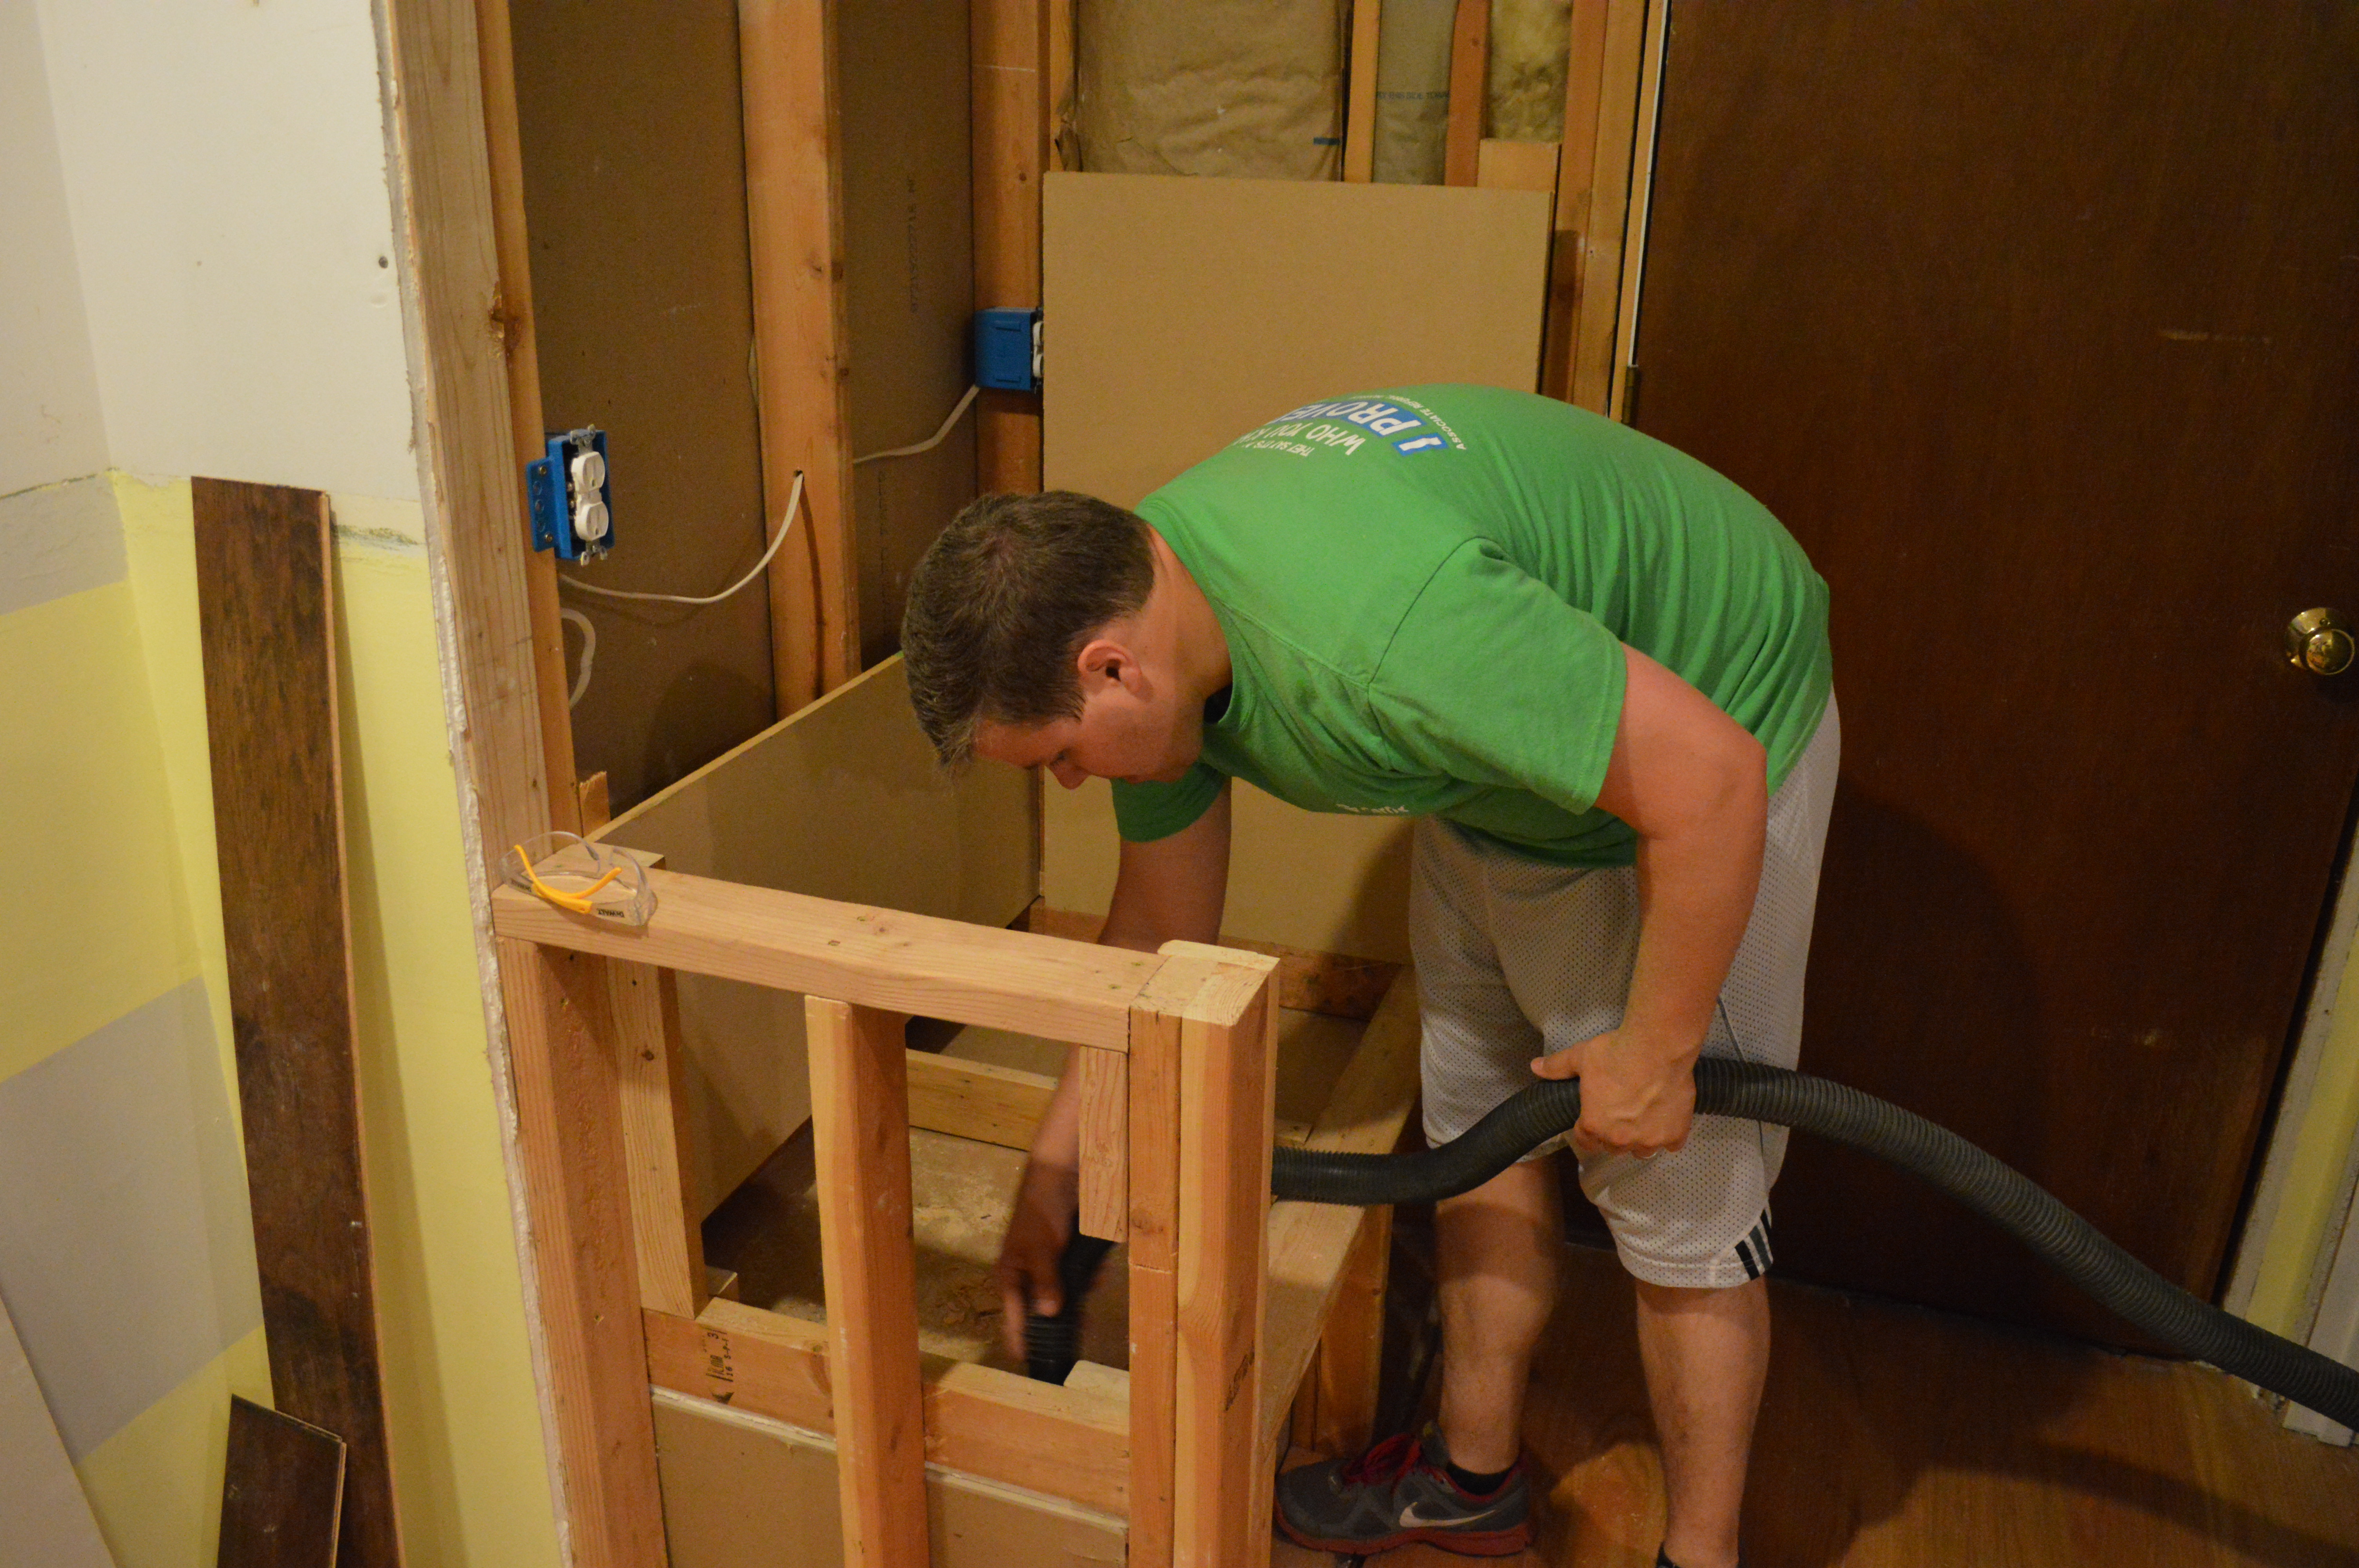
I started by cutting the back and bottom sides to fit using my circular saw. Once the back was attached, I had to clean tools and dirt/dust out the bottom.
Measured twice, cut once. Perfect fit.

My grandpa gave me a finishing nail gun a while back. You have probably seen it or heard about it already. But that is what I used to attached the MDF to the studs.

Melissa thought this picture made my hair look gray…

Before working on this any more, I wanted to get the drywall up and counter tops ordered so that they could get here.

We got the drywall finished before the delivery and the lower cabinet installed, but not much else on the nook.

Next was time to finish the inside of the drawer cavity. I cut the side walls to side and nailed them in place.

The face of the nook is mostly 3/4″ MDF that we eventually painted with the matching paint. I could discuss the
Next we hung the upper cabinets. I had to remind myself where the studs in the wall were by referring to A Drywall Date from back in the early stages of the remodel.
I screwed a board to the wall to help hold the cabinets up and keep them level. We mounted the three upper cabinets, leaving space at the top for the trim. I used the jig for adding the door pulls.

Then we moved on to the back splash in the nook.

After finishing up the back splash, we were ready to move onto adding a face to the frame to the nook drawer. I nailed up the face, added some wood putty to smooth the joints, and Melissa used the cabinet-matched paint to paint it.

After this we were ready to build the drawer. I built the drawer just like the pantry drawers, which you can read about here. When it came time to glue it, I used extra clamps to give it a really tight seal.

One little trick to keep your clamps free of glue residue is to use a scrap of wood as a buffer.

And remember to sand down the drawer after it’s glued (and dried) to get rid of any excess.

Then, I applied a coat of poly and let that dry for 24 hours before we moved on to the next step—installation.

You can see the drawer glides on the counter in the picture above. We got them from Home Depot and they work pretty well. I followed the instructions when installing them.

I used some shims to make sure the glides were aligned perfectly.

The glides also came with some directions on how large the drawer should be. These say to make the drawer one half of an inch narrower than the walls of the drawer on each side, which is what I did. Once the drawer was built, we were ready to install the glides and the drawer face. These two steps rely on each other a bit.
Melissa insisted we do some test fitting. It’s a really large drawer.

So here is a quick drawer lesson. Your drawers will work best if your handle is almost level with the glides. This is because you want the effort of pulling the drawer to be in line with the slides. This is mostly to keep the face of the drawer from becoming weak or coming away from the rest of the drawer body.
If you put the handle higher than the glides, you put pressure on the drawer glide in the red “pressure point” in the diagram below due to upward and forward force.

Likewise, if you put the handle lower than the glides, you put pressure on the drawer glide in the red “pressure point” in the diagram below due to downward and forward force.

When you put the handle close to even with the drawer glide, you eliminate most of the cause of the pressure points outlined above.

We wanted the drawer handle bar to be a little higher than center on the nook drawer, so we mounted the glides accordingly.

It may not seem like the glides are centered, but you have to keep in mind the drawer front extends up above the the drawer box.

To install the drawer front, I had to use spacers since the drawer had an inset center where we needed to attach it.

We are very pleased with the overall finished look and additional space and functionality…but Melissa said I had to wait and let her post the final reveal tomorrow. She said 900 words was already too long for a blog post.
In the meantime, I’m just really happy this project is done. This blog post took several months to write, so we’re ready to move on to the next one. Or sit on the couch and rest for four and a half months until this baby gets here…? Who thinks that’s the best idea?


Yea for Progress!!